It’s already March y’all! It’s hard to believe we’re this far into 2019. I’ve been very busy lately with traveling and school (which has made time go by even faster!), and haven’t had time to do a post; but I am back today with a spring hairstyle for you guys! It’s very simple to do, and is definitely giving me some bohemian vibes. You can wear it dressy, casual or anywhere in between. This might even become your new “go to” hairstyle. I won’t stall anymore so let’s jump right into it! ⇒
Bohemian Fishtail Hairstyle

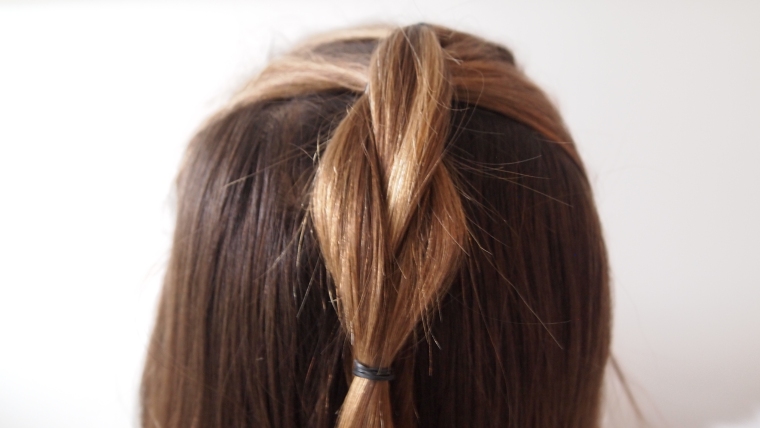
Step #1
I am doing this style on curled hair but straightened would look cute as well! Take a section of hair from the front of the head on both sides of the part. Then twist them to the back of the head and tie together with an elastic.
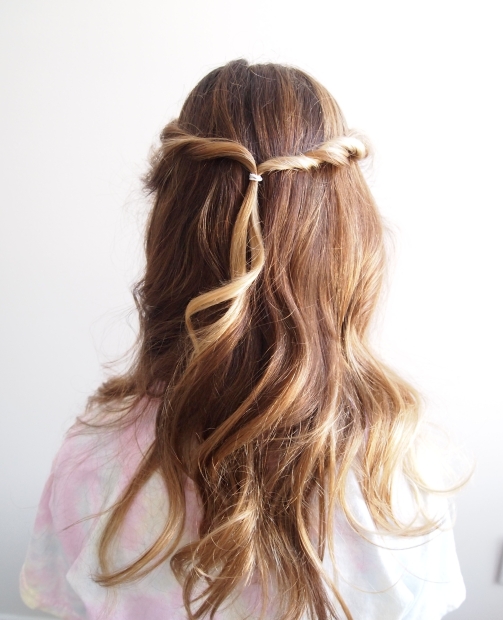
Step #2
Repeat step one. Take a section of hair from the front of the head right below the first section on both sides of the part. Twist them back and secure with an elastic.

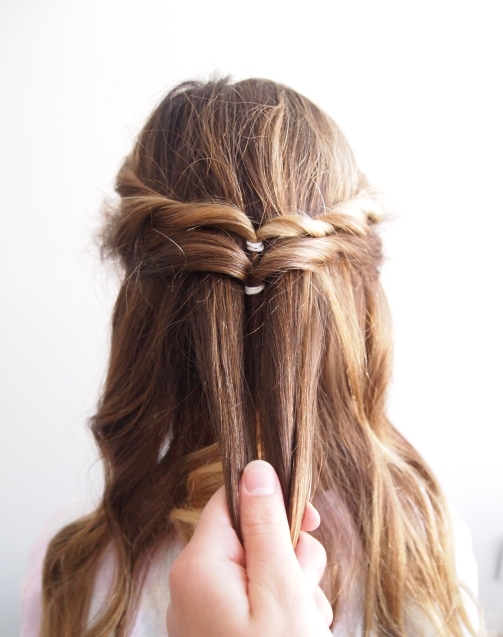
Step #3
Grab a section of hair from behind the twists. Divide the section into two pieces and fishtail braid it. After you are done braiding, tie it off and pancake (pull/fluff out) the braid or any other part of the style you want to adjust.
And that’s it! Hairspray, bobby pin, and tug where ever you prefer to wrap it up.

I hope you guys love this spring hairstyle and try it out! Don’t forget to drop a comment below and say hello so I know you stopped by today. I love to hear from you all! You really make this blogging experience fun and I appreciate your support so much! I hope you have a great start to your spring this month!
Until next time,